Enrolling Windows 11 corporate devices into Microsoft Intune is a critical step for IT administrators to ensure secure management, compliance, and streamlined access. One of the most reliable methods is using Azure AD Join, now known as Microsoft Entra ID Join, which directly connects devices to the organization’s cloud directory.
This guide provides a step‑by‑step walkthrough of enrolling Windows 11 devices through the Azure AD / Entra ID Join method, complete with screenshots, prerequisites, and troubleshooting tips. Whether you’re setting up new endpoints, migrating from on‑premises Active Directory, or managing devices in hybrid environments, this tutorial will help you quickly configure and verify Intune enrollment for corporate‑owned Windows 11 systems.
Note: The Azure Active Directory is now Microsoft Entra ID.
Prerequisites
Configure Automatic Enrollment
Automatic enrollment allows users to seamlessly enroll their Windows devices into Microsoft Intune. To enable this, Auto Enrollment must be configured so that devices are automatically enrolled in Intune as soon as they are joined to Microsoft Entra ID (formerly Azure Active Directory).
For step-by-step guidance, see Configure Azure Active Directory Automatic Enrollment, which explains how to set up and manage automatic enrollment in Entra ID.
How to Join a Windows 11 Device to Azure Active Directory
Follow the following steps to enroll a Windows 11 device in Intune using the Azure AD Join enrollment method.
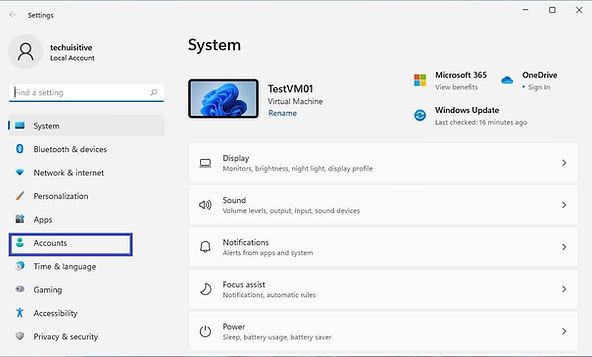
- On a Windows 11 device, go to Windows 11 Settings > Accounts. The account you are using should have local administrator rights.
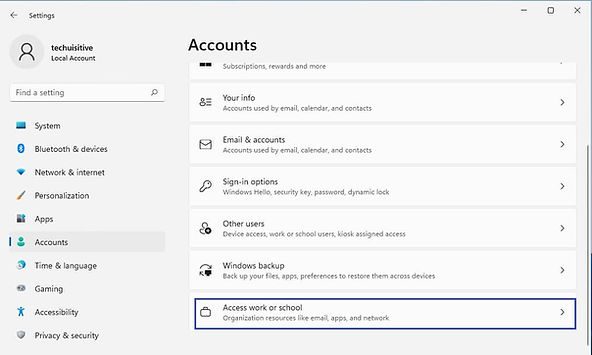
Scroll down and click on the Access work or School option.
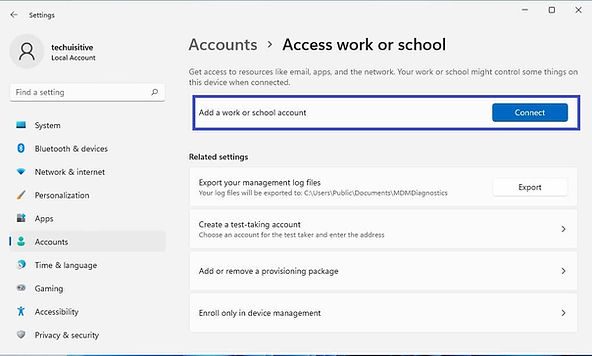
On the Access work or school page, click on Connect
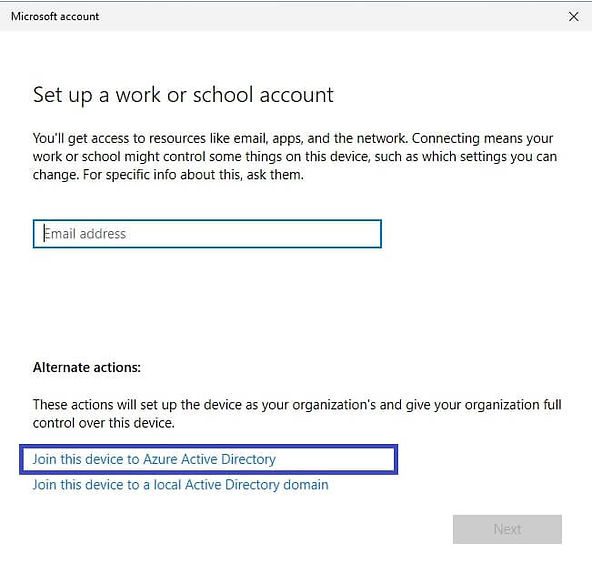
On the Set up a work or school account page, click on Join this device to Azure ActiveDirectory
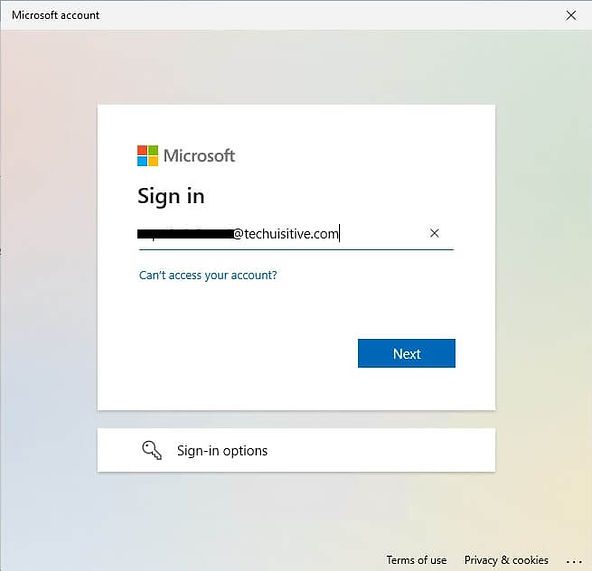
On the Sign-in page, enter your Azure AD account and click on Next. The AAD account should have permission to enroll the device in Intune.
Enter the password in the next screen and click on Sign in
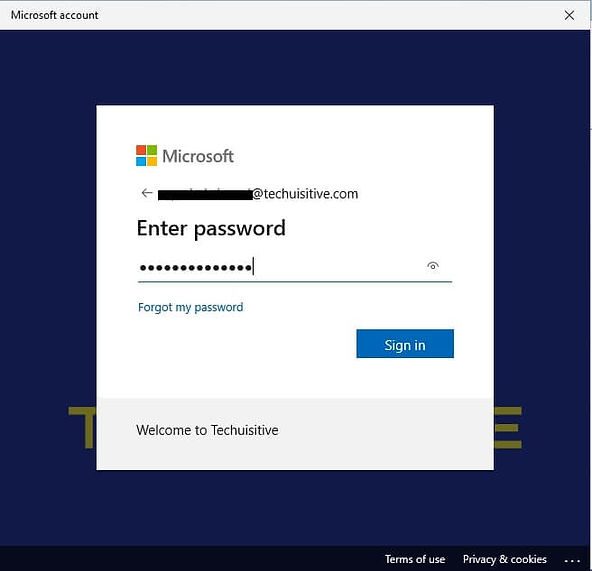
If Multi-Factor Authentication (MFA) is enabled, then you will get a prompt for authentication.

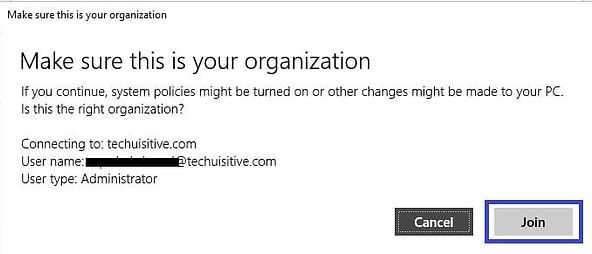
On the “Make sure this is your organization” page, review the organization and click on Join.
The device is now joined to Azure Active Directory. Since we have already configured Automatic Enrollment configuration for Microsoft Intune in Azure AD, the device is automatically enrolled in Microsoft Intune.
Click on Done.
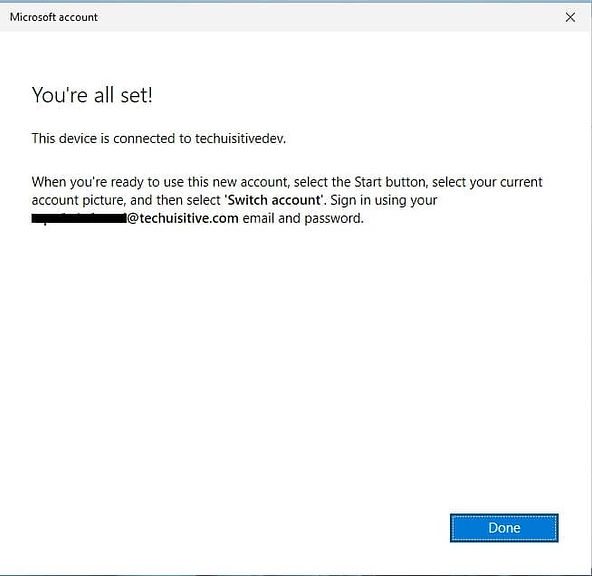
You now need to log on with your Azure AD account. You can either reboot the device or just sign out and log on with your Azure AD account.
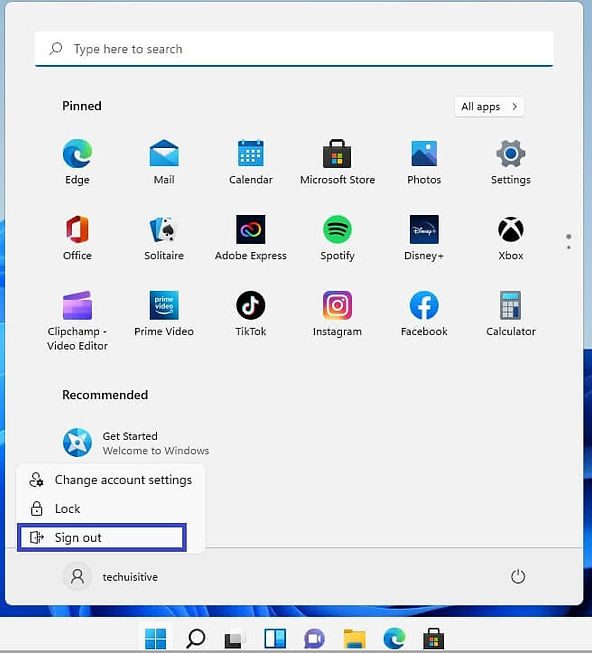
Click on the Start Menu and select Sign out
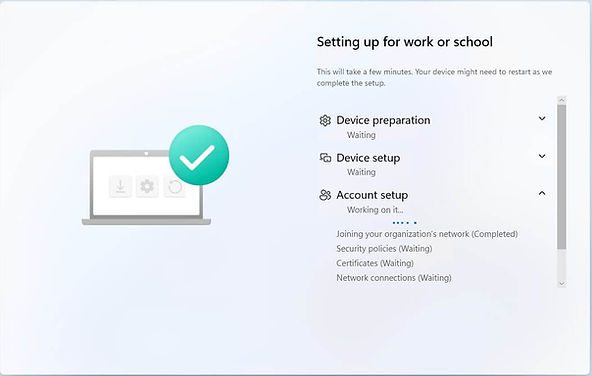
Log on with your Azure AD account. You will see the Setting up for work or school account ( Enrollment Status Page). This will take some time, depending on the number of policies and applications assigned to the device/user in Microsoft Intune.
You can now see the device record in Azure AD and the device enrolled in Microsoft Intune. You can validate the same from the Azure Active Directory console or Microsoft Intune Admin Center.

Related Posts
- SCCM Dynamic Collection for Windows 10 / 11 Devices
- SCCM SQL Query for Windows 10 / 11 Version Summary
- Configure Windows 10 / 11 Device as Kiosk | Microsoft Intune
- Windows 10 / 11 Operating System Build Versions
- Windows 11 enrollment failed with error 0x800700b7
- Enroll Windows 11 Device to Intune through Azure AD Join method | Corporate Devices
- Invalid_Client error when joining Windows 10 device to Azure AD tenant
- Join Windows 10 Device to Azure Active Directory
- How to Obtain Hardware Hash for Manually Registering Devices with Windows Autopilot
- Bulk enrollment of Windows 10/ 11 Devices to Intune
- Microsoft Intune – Windows 10 MDM- Basic troubleshooting
- That account info didn’t work – error when disconnecting Windows 10 / 11 Work or School account
- MDM Enroll: Device Credential, Failed (Unknown Win32 Error code : 0xcaa9001f
Subscribe to Techuisitive Newsletter
Be the first to know about our new blog posts. Get our newsletters directly in your inbox and stay up to date about Modern Desktop Management technologies & news.